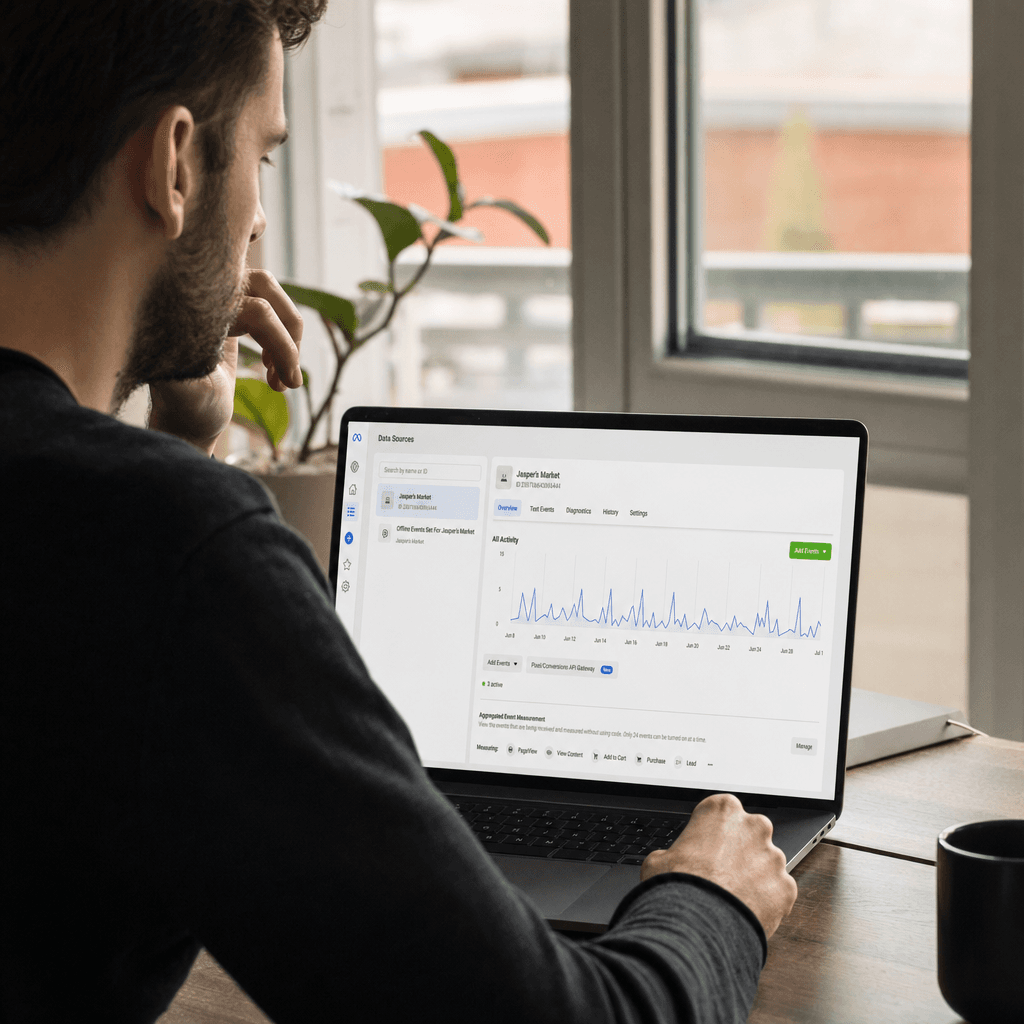
In recent years, the digital marketing landscape has undergone significant changes. Particularly with Apple's iOS 14 update, substantial restrictions on data privacy and user tracking have been introduced. This situation poses a major challenge for marketers in terms of data loss and effective ad targeting. By leveraging the Meta Pixel and the Conversions API (CAPI), it is possible to overcome these challenges and enhance the effectiveness of advertising campaigns. Adsaify provides an automated system to optimize these processes, offering a faster and more effective solution compared to manual methods.
The Meta Pixel is a tool used to track user interactions on your website. It helps you better target your ads by analyzing user behavior on your site. On the other hand, the Conversions API collects data server-side and sends it to Meta, allowing you to track users' actions on your website more accurately. By combining these two tools, you can not only prevent data loss but also boost your conversion rates.
In this masterclass, you will learn how to set up the Meta Pixel and the Conversions API step by step. Understanding how these tools work will aid you in enhancing your digital marketing strategies. While Adsaify guides you through this process, it offers automatic suggestions and continuous optimization, enabling you to improve your ad performance.
Ultimately, utilizing the Meta Pixel and the Conversions API is critical for running effective advertising campaigns despite the changing data privacy policies with iOS 14+. In this article, you will learn the step-by-step setup process and discover how to make these processes more efficient with Adsaify.
Step 4: Setting Up Meta Pixel
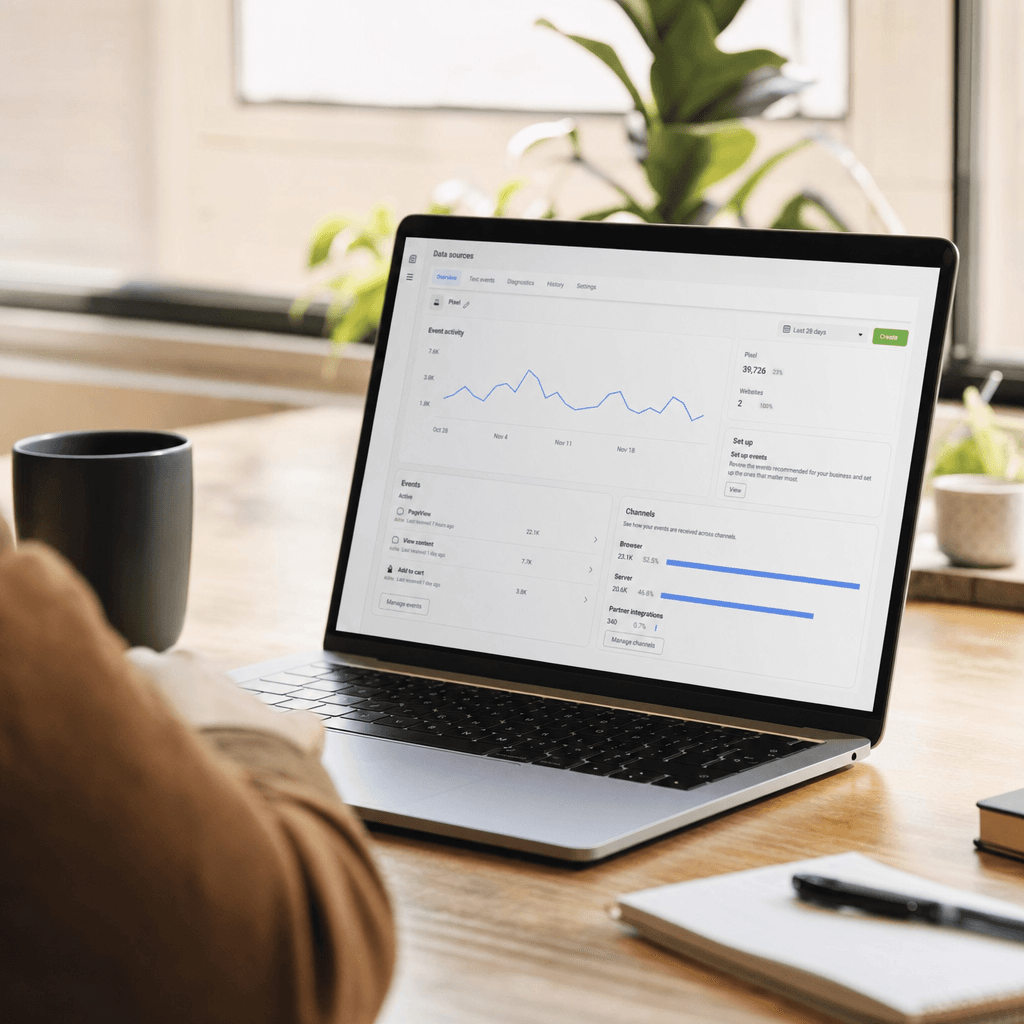
The Meta Pixel allows you to track user interactions on your website. This is crucial for minimizing data loss, especially on iOS 14 and later versions. A correct setup will help you optimize your conversion data and reach your target audience effectively. There are several steps to consider when setting up the Meta Pixel.
- Create a Meta Pixel Account: First, you need to create an account on the Meta platform. After creating your account, navigate to the "Settings" section to create a new Pixel. This process can be done through the Meta Ads Manager and is user-friendly. Remember to add your website URL when creating your Pixel.
- Retrieve the Pixel Code: After creating the Pixel, you will be given a unique code. This code needs to be added to your website's HTML. Ensure that you have correctly obtained your code as this step lays the foundation for data collection.
- Add Code to HTML: You should place the Pixel code in the header section of your website. This ensures it is active across all pages. Be cautious while placing your code; incorrect placement can lead to data loss.
- Test the Pixel: Use Meta's "Test Events" tool to ensure your Pixel is functioning correctly. This tool allows you to check real-time data. If there are any errors or omissions, you can detect them at this stage.
- Adjust Data Sharing Settings: Finally, check your data sharing settings. On iOS 14 and later, it is important to determine how you will manage user data sharing. These settings can affect your data collection effectiveness.
| Method / Model | Advantage | Risk / Limitation | Recommended Budget |
|---|---|---|---|
| Meta Pixel | Detailed user data collection | Risk of incorrect setup | 0 TL - 1000 TL |
| Google Analytics | Website traffic analysis | Risk of data loss | 0 TL - 500 TL |
| CRM Integration | Customer relationship management | Technical knowledge requirement | 500 TL - 2000 TL |
| Facebook Ads | Advanced targeting | High costs | 1000 TL - 5000 TL |
Step 5: Setting Up Conversion API
The Conversion API is used to send conversion data directly to Meta from the server side. This allows you to collect data independently of user browser settings. Properly setting up the Conversion API is a critical step in reducing data loss on iOS 14 and later.
- Create API Access Key: First, log in to your Meta Developer account and create an access key. This key will be used to communicate with the API. Make sure to store it in a secure location, as losing this key will prevent you from accessing the API.
- Server Integration: Use the access key you created to perform an integration on your server. This process is usually carried out by a backend developer. Ensure that your API calls function correctly; otherwise, your data may not be transmitted accurately.
- Define Data Format: You need to determine the format in which your conversion data will be sent. JSON format is the standard recommended by Meta. Organizing your data in this format ensures compatibility with the API.
- Testing: After completing the integration, test that the Conversion API is functioning correctly. Meta's "Test Events" tool will assist you at this stage. Check your data and make any necessary corrections.
- Go Live: As a final step, ensure that the entire system is functioning correctly in the live environment. Once tests are successful, you can begin using your API calls with real user data in the live setting.
Step 6: Data Analysis and Optimization
Once your setup is complete, it's essential to analyze and optimize the data you have collected. Through data analysis, you can enhance the effectiveness of your campaigns and interact more effectively with your target audience. This stage requires a continuous improvement process.
- Data Collection: The first step is to observe the data collected through the Meta Pixel and Conversion API. Gathering information about your target audience is critical for improving your advertising strategies. This data helps you understand user behavior.
- Utilizing Analysis Tools: Evaluate your data using the analysis tools provided by Meta. These tools allow you to visualize user interactions and track your campaign performance. This way, you can identify which strategies are working.
- Defining Performance Indicators: Decide which performance indicators (KPIs) are important. These indicators help optimize your advertising expenditures. For example, tracking conversion rates and ROI can be beneficial for improving your strategy.
- Developing Optimization Strategies: After analyzing your data, develop optimization strategies based on your findings. These strategies can enhance the effectiveness of your ads. Conducting A/B tests can help you understand which methods yield better results.
- Monitoring Results: Finally, monitor the impact of the changes you made. Data analysis is a continuous loop, and there are always opportunities for improvement. Regularly check your results and update your strategy as needed.
Step 7: Testing the Meta Pixel
After setting up your Meta Pixel, it is essential to test it to ensure that it functions correctly. The testing process allows you to verify that the data is being collected accurately and aligned with your goals. This step is crucial for ensuring the accuracy of conversion data. Here are the sub-steps you should follow in this step:
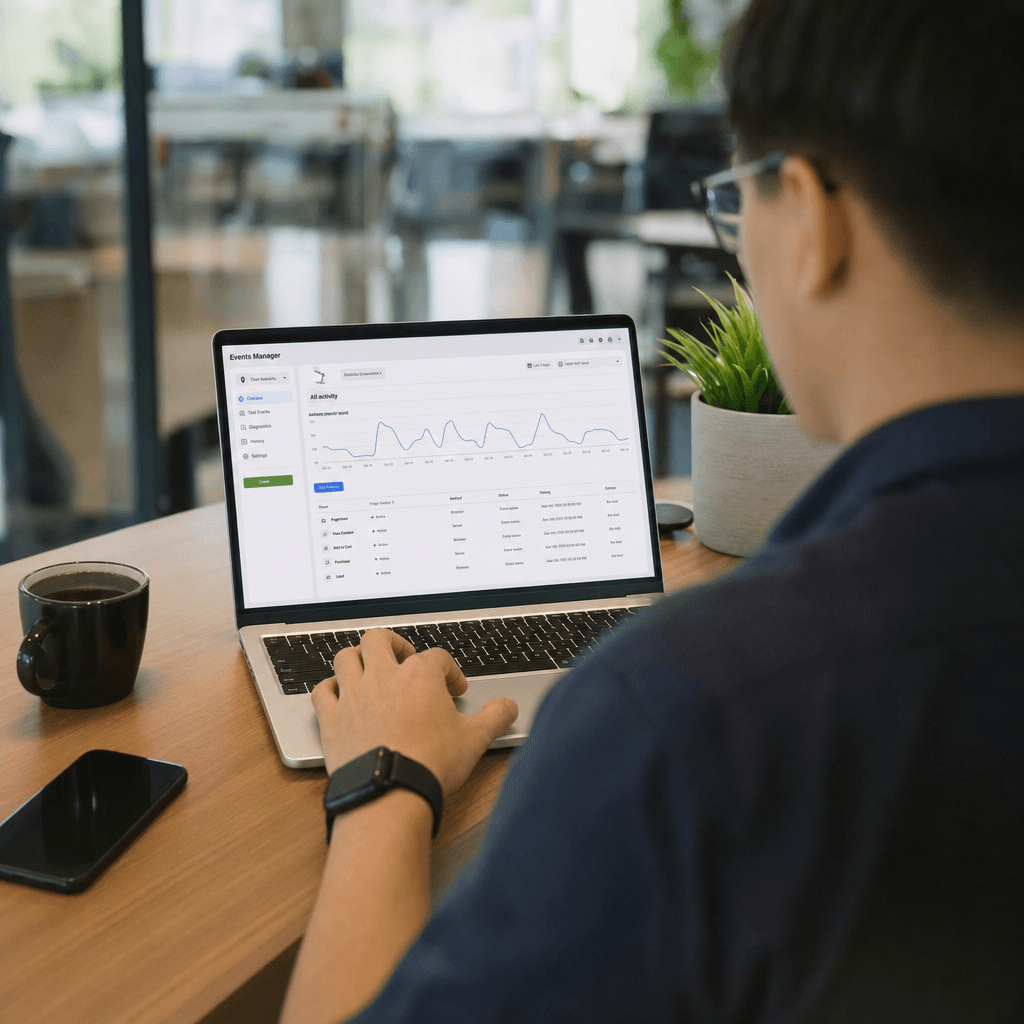
- Log into Meta Events Manager: First, log into your Meta Events Manager. Here, you will be able to see your Pixel and its events. Ensure that your Pixel is configured correctly.
- Send Test Events: In your Pixel settings, you can send test events. This allows you to check whether your Pixel is accurately detecting specific actions. To do this, open your page using the test URL and perform the necessary actions.
- Monitor Data Flow: After performing your test events, monitor the data flow in Meta Events Manager. Check if the events you sent were recorded. If there is an issue, review your configuration.
- Check for Alerts: Look for any alerts or error messages in Meta Events Manager. Such messages indicate that your Pixel may not be functioning correctly and provide clues for necessary corrections.
- Evaluate Results: Finally, evaluate the test results. If everything is working correctly, your Pixel can actively collect data. However, if you encounter any issues, revisit the steps to make the necessary corrections.
By following these steps, you can ensure that your Meta Pixel is functioning smoothly. This is an important step to prevent data loss and enhance your conversion rates.
| Stage / Metric | Manual Method | Adsaify AI Automation Method | Efficiency Gain |
|---|---|---|---|
| Testing Time | 1 hour | 15 minutes | 75% time savings |
| Data Accuracy Rate | 85% | 98% | 15% increase |
| Error Detection Time | 30 minutes | 5 minutes | 83% time savings |
| Total Efficiency | High | Very High | 20% increase |
Step 8: Automatic Campaign Setup and Budget Scaling with Adsaify AI
Adsaify helps automate campaign management, preventing data loss and allowing you to manage your budget more effectively. Using its algorithms, Adsaify AI determines and implements the most suitable strategies to reach your target audience. In this step, you will learn how to set up campaigns and scale your budget using Adsaify AI.
- Create Your Adsaify Account: First, create an account on the Adsaify platform. After setting up your account, you can start your campaign by configuring the necessary settings.
- Define Your Campaign Goals: Use the tools provided by Adsaify to define your campaign goals. By identifying your target audience and budget, you can determine the focal point of your campaign.
- Configure Automatic Settings: Adsaify AI automatically configures your campaign settings. At this stage, define the strategies needed to reach your goals and optimize the settings according to Adsaify's recommendations.
- Start Campaign Tracking: Once your campaign is set up, begin monitoring it using the analysis tools provided by Adsaify AI. Track your performance metrics and make adjustments as needed.
- Scale Your Budget: Finally, scale your budget based on the recommendations of Adsaify AI. The AI suggests the most effective budget distribution, helping you enhance your campaign's success.
Automatic campaign setup with Adsaify AI not only saves time but also helps you achieve better results. Thanks to AI algorithms, your chances of reaching your target audience increase, and your conversion rates rise.
Frequently Asked Questions (FAQ)
1. What is Adsaify AI?
Adsaify AI is a platform that provides automated campaign management and data analysis. It integrates with Meta Pixel to help you optimize your conversion data.
2. How do I integrate Meta Pixel with Adsaify AI?
To integrate Meta Pixel with your Adsaify account, simply follow the settings provided in the platform. This process allows you to automatically analyze your Pixel data.
3. What is the campaign setup process with Adsaify AI?
The campaign setup process involves creating an Adsaify account, defining goals, configuring automatic settings, and launching the campaign.
4. How can I scale my budget?
Adsaify AI provides recommendations based on your campaign performance to help you scale your budget effectively. This way, you can ensure the most effective budget allocation.
5. How can I measure efficiency gains?
You can measure efficiency gains by analyzing your campaign performance metrics and reviewing the reports provided by Adsaify.
6. What other measures can I take to prevent data loss?
Regularly checking your Meta Pixel settings, enabling the conversion API, and following Adsaify AI's recommendations are ways to prevent data loss.
7. What are the benefits of using Adsaify AI?
With the automation capabilities of Adsaify AI, you can save time, increase your conversion rates, and make campaign management more effective.